Work Planning and Tasks#
Tasks for Assembly Sheets#
The task overview uses the drawing's Assembly Sheets as task cards. This lets you track setup by assembly sheet. The task status is saved in the linked online project. An assembly sheet with no prior status appears under Upcoming Tasks.
You need a drawing linked to an online project and access to that project. Without a link, the task overview displays a notice. Project linking and access rights are described in the online workflow. First create assembly sheets for the planned work; you can maintain user assignments and the build instructions in the assembly sheet properties.
View and Filter Tasks#
- In the Navigation panel on the right, open the Tasks tab. On the project website, open Tasks in the project navigation.
- Select <All Users> to see all assembly sheets, or select a person to view their tasks. If a sheet is missing, check the User column in the Assembly Sheets list in Navigation and reset the filter to <All Users>. User assignments on individual objects are not currently taken into account reliably in the person filter; also assign the responsible person directly to the assembly sheet if the task should appear under that person's filter.
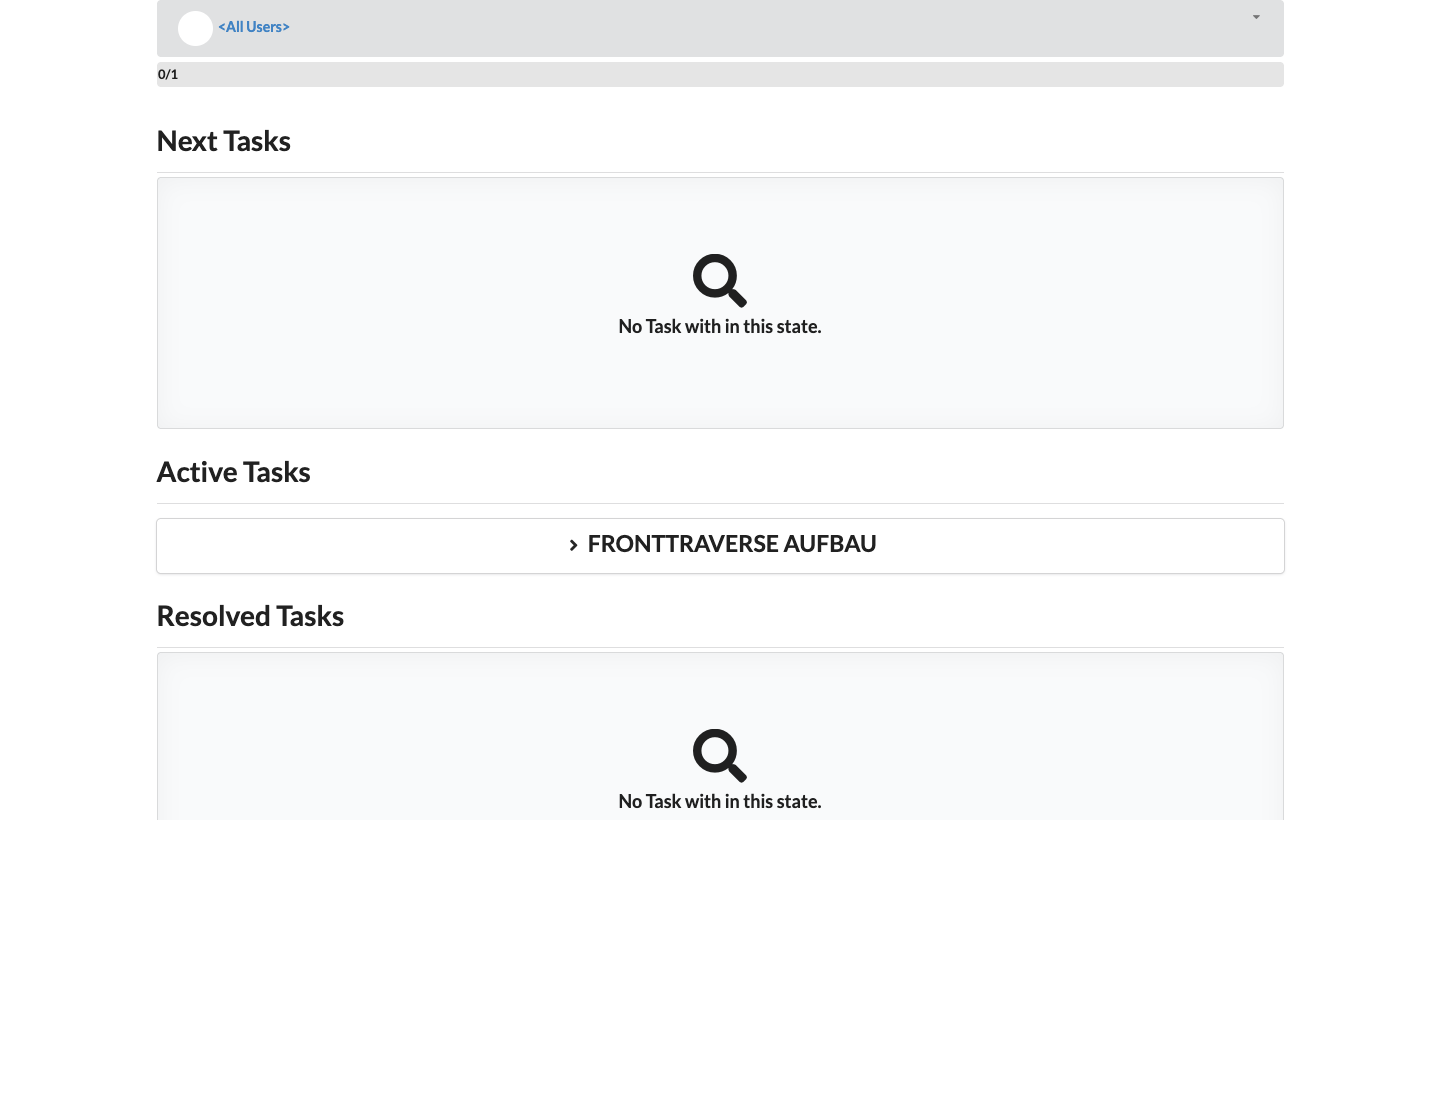
- Find the assembly sheet under Upcoming Tasks, Active Tasks, or Completed Tasks. The progress indicator compares completed assembly sheets with the assembly sheets displayed.
- Click the name on a task card to expand its details and actions. No tasks with this status means no card is currently displayed in that section.
Edit a Task#
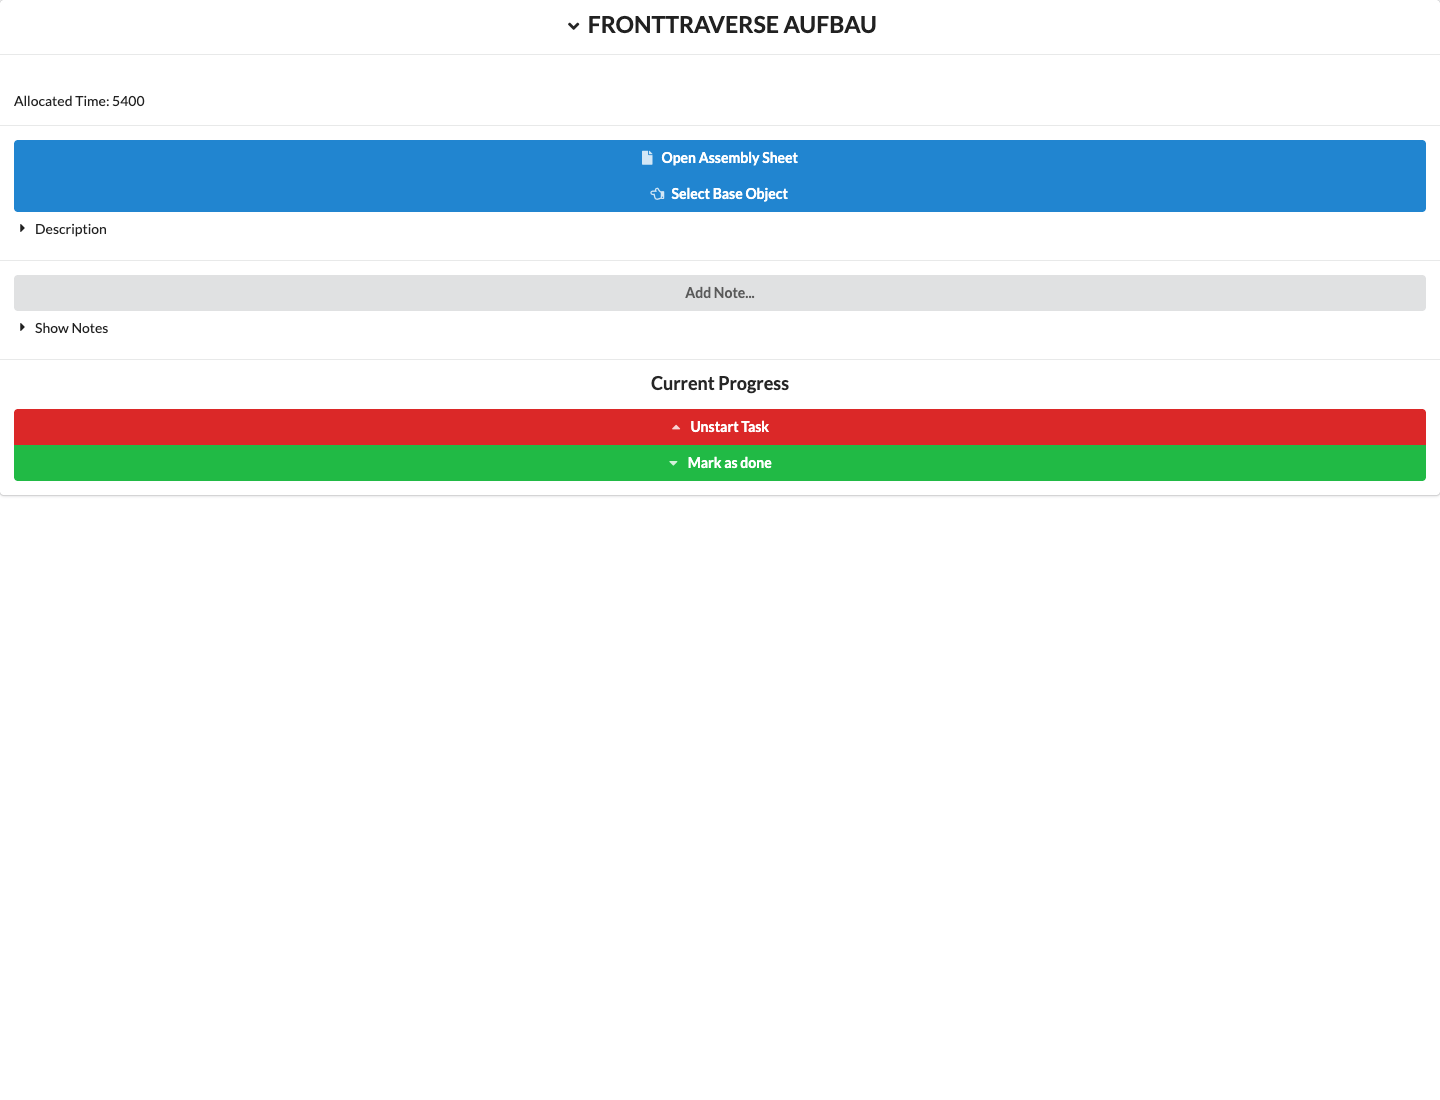
- In Tasks, expand the card for the relevant assembly sheet. The card shows the assigned users and the Calculated Time saved in the assembly sheet. You cannot edit this time display in the task card.
- If needed, open the associated sheet with Open Assembly Sheet. In the desktop application, the sheet opens directly; in the browser view, the button leads to the project's general Worksheet view and does not select a specific assembly sheet. Select Base Object selects the linked object in the plan and zooms to it in the desktop application. Read the saved build instructions under Description.
- If needed, in the desktop application select Add Note..., write the note in the Create Note for Object dialog, and confirm with OK. If a base object exists, the note is assigned to it. Select Show Notes to load notes for the objects belonging to the assembly sheet.
- Select Start to move an upcoming task to Active Tasks. For an active task, Reset moves it back to Upcoming Tasks; Complete moves it to Completed Tasks. For a completed task, Reject moves it back to Active Tasks. The task list reloads after the status changes.
Status actions require a connection to the online project. If a card does not appear in the expected group after you click an action, check the project link and your connection, then reload the task view. When filtering by person, the overview shows only matching assembly sheets; the progress bar also reflects that selection. If a newly created assembly sheet is missing from the website, also check whether the relevant project state has been transferred.
Notes for an Assembly Sheet#
In the desktop application, Add Note... on a task card opens the Create Note for Object dialog. The note belongs to the assembly sheet's base object. Before saving, check that the assembly sheet has a base object and that the editor contains the intended text.
- Write the text in the editor. The formatting bar includes headings, lists, links, and images; use Preview to check how it looks.
- To insert a reference to a saved view or assembly sheet, use the corresponding entries in the editor bar and fill in the placeholders in the inserted text.
- Confirm with OK to create the note on the specified base object. The assembly sheet therefore needs a base object. Cancel does not create a note. If you select Cancel after making a change, the dialog displays Save Data and Discard Data. Both buttons close the dialog; Save Data does not currently create the note. Use OK to create it. The red close icon and Escape also close the dialog without creating a note. Clicking outside the dialog does not close it.
- In the task card, open Show Notes to load and read notes for the objects in this assembly sheet.
The Saved View and Assembly Sheet entries insert text templates for references. Fill in the information specified by those templates in the editor. For further details on the editor and templates, see Create Note for Object in the Context Menu and Notes in the Worksheet Window.
The input area in the Create Note for Object dialog is shown in Notes in Object Properties. Use Write to edit and Preview to see the preview.