

This example shows how to create a label template for fixtures with a name, Fixture ID, and DMX address, and export it as a PDF. For paper formats, all filter options, and Truss Tape mode, also read the full Guide to Creating and Printing Labels.
To rename the template, click its name in the list once, enter the new name, and confirm with Enter. Press Esc to cancel the name change.

In Edit Mode, edit the label in the upper-left corner. In the tool bar, select New Object → Property Field to insert a label field. Under Object Properties → Print Label Field, select the Dynamic Text field type and then the desired property. For this example, use Name, FID, and Absolute (DMX address 1).
To add a QR code, insert another field using New Object → Property Field, then select QR Code as the Field Type. This code links to the online project's object page. An online project is required for the link to be reachable.
Position the fields by drag and drop or enter their positions under Object Properties → Transform. Adjust the font, font size, alignment, color, and field width. Long text wraps within the field width in the PDF and may therefore take up multiple lines.

Click Close and Save in the yellow bar to apply your changes.
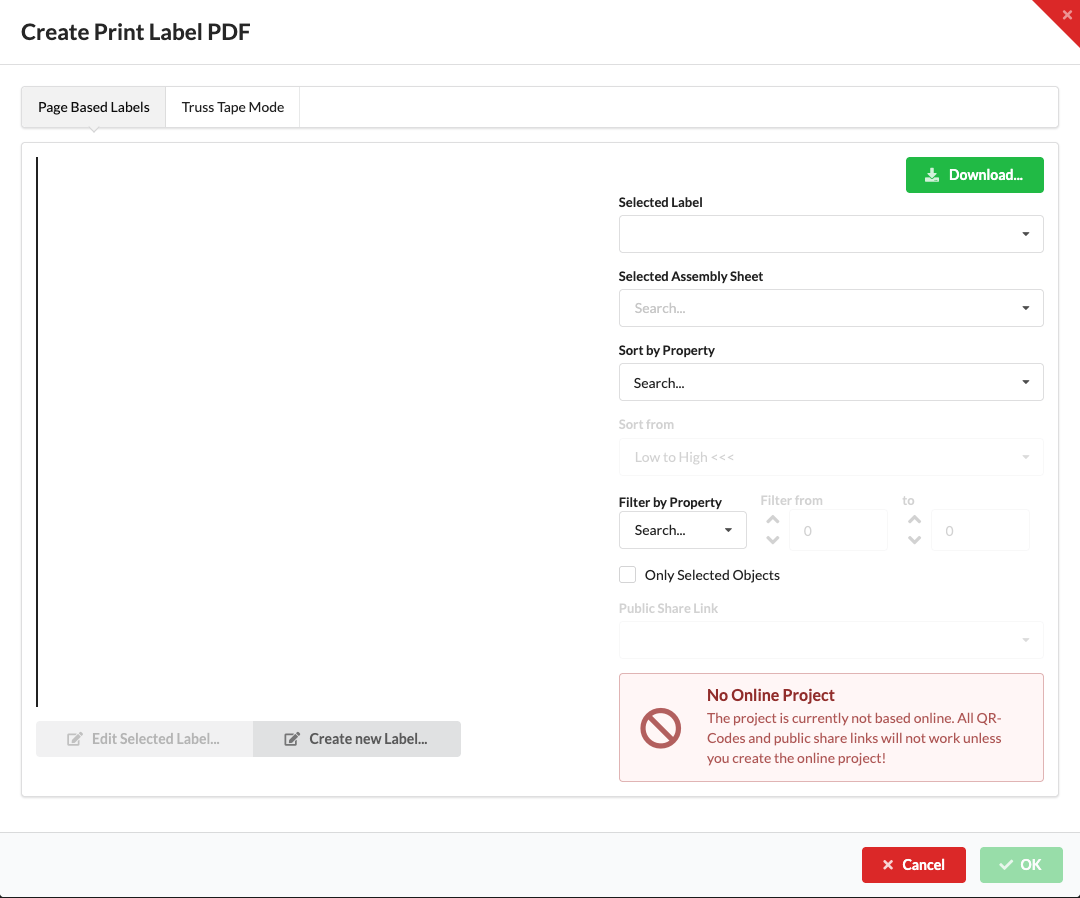
Check the generated PDF before printing. QR codes require an online project. If people without project access should be able to open the linked object information, select a Public Share Link in the export dialog. For details about prerequisites and filters, see the complete label guide.