

With the Capture integration, you can send a rigging model built in Capture to Production Assist, have it calculated there, and transfer the calculated sling loads back into Capture. The connection transfers model geometry and relevant object data for the calculation. Changes to the geometry that you then make in Production Assist are not transferred back to Capture. Change the model in Capture and send it again if you need a new calculation.
This integration is documented for Capture 2026. The File > Send to Production Assist... command is available in Capture when Production Assist is installed. Capture Student Edition does not support sending to Production Assist.
The current Capture help describes the command under File Menu: Send to Production Assist.

You can repeat the exchange after changing the model in Capture. The export dialog determines which model contents are transferred to Production Assist each time.
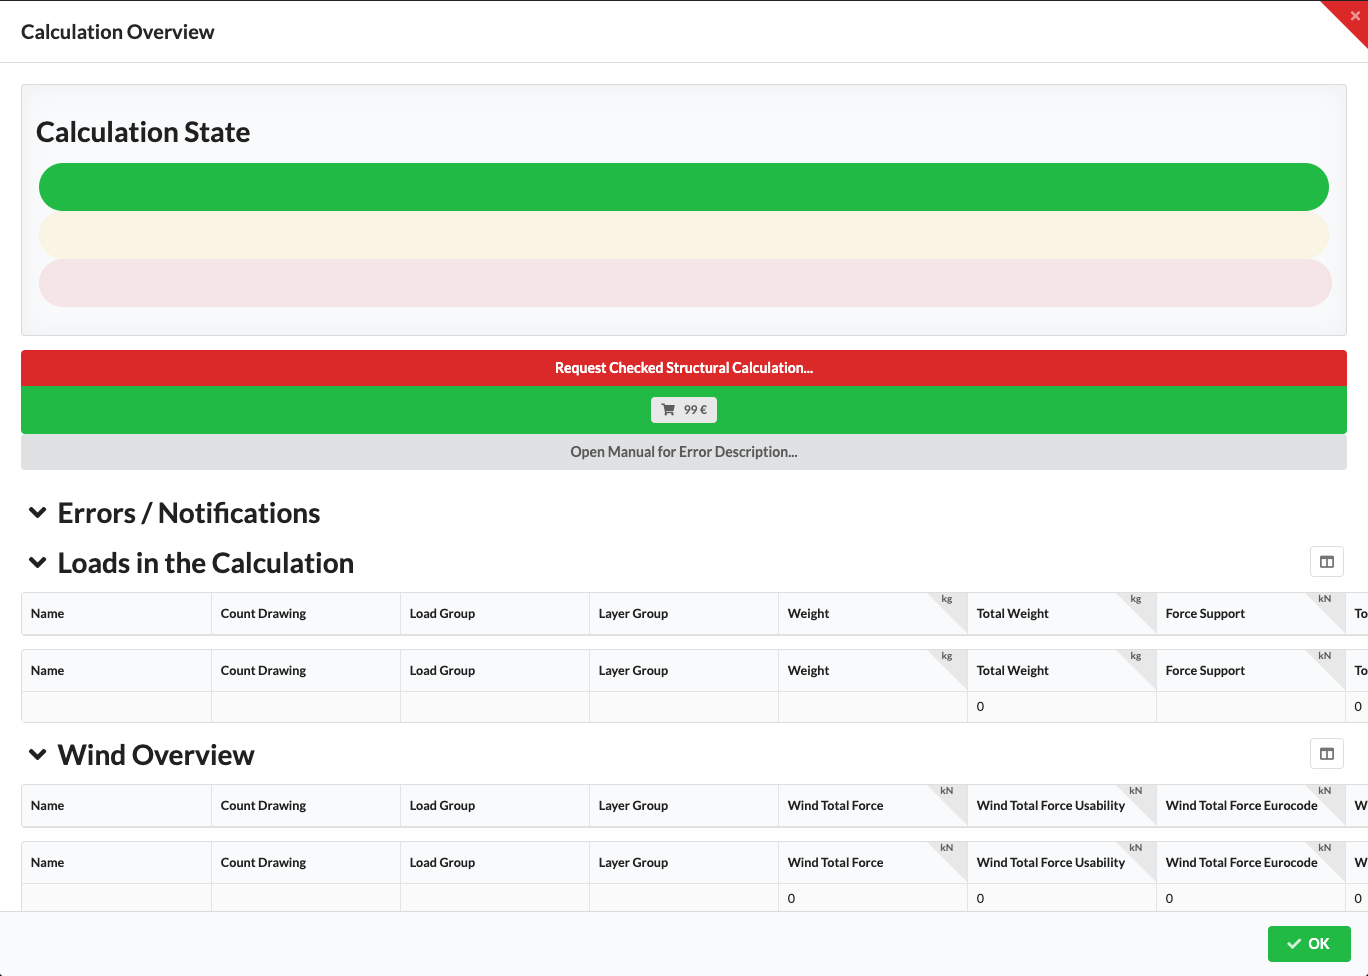
The Calculation Overview shows the status and the calculation results available for the drawing. Open it using Rigging → Show Calculation Overview... to check the results after calculating. The current UI audit capture shows empty sample data; the displayed price information is also synthetic. The loads, errors, and result groups shown depend on the drawing. For more information about the tables, status indicators, and result groups, see Calculation Overview.
After the calculation is complete, Capture displays a dialog where you can import the new load data.

After importing, you can view and use the loads in Capture, for example in plots or tables.


In the Capture library, open the Truss category and drag a truss into the top view. Add more trusses if needed. Connect them using the Capture magnets at the intended connection points.

Open the Built-In category, insert a Sling, and connect its endpoints to the intended support points on the structure. Repeat this for each support. A sling modeled in Capture is used to display the corresponding calculated load in Capture.
Send the model using File > Send to Production Assist.... In Production Assist, check that the expected trusses and supports were imported, then start the calculation. Keep both programs open and accept the returned load data in Capture when the import prompt appears.
A drop is modeled in Capture as a Sling. Connect both sling endpoints to the respective trusses. In the 3D view or a wireframe view, check that the endpoints actually lie on the intended structures. Then send the model and check the imported drop in Production Assist.

You can also create a drop directly in Production Assist. That drop can be used there for the calculation. However, without a corresponding sling object in Capture, there is no Capture sling to which Production Assist can assign the load for display and transfer.
Truss Crosses connect two trusses whose recognized structural axes cross in the top view and whose heights match their respective cross sections.
A crossing in the top view alone is not sufficient for recognition.
