In this guide: GDTF — Definition · Importing and exporting GDTF · MVR — Definition · Importing and exporting MVR · MVRxchange on a local network
GDTF stands for “General Device Type Format.” This open format describes device data, geometry, and control information for spotlights and other devices. When manufacturers and software use the same GDTF definition, they can exchange this device information between planning and visualization.
Importing a .gdtf file creates a fixture type in the current drawing. To place a spotlight (fixture) in the plan, insert this type as an object afterward:
.gdtf file on your computer. A confirmation appears when the import succeeds.You can also select the .gdtf file using Import File in the GDTF resource dialog. There you can choose fixture types that are already available in the current drawing, local resources, or online resources. An internet connection is required for online resources that have not yet been saved locally. Imported fixture types appear in the Resource Manager under Fixture Types.
In the SketchUp extension, a placed library component can automatically get its fixture type from a .gdtf file with the same name in the same folder, for example Spotlight.skp and Spotlight.gdtf. When read in synchronously, the SKP geometry remains in SketchUp; Production Assist creates a fixture with the GDTF device data. SketchUp: Open a component library describes the prerequisites and what happens when files are missing.
To export an object as a GDTF file, select a fixture or an object with a symbol definition. Then select File → Export → Export Object as GDTF... and enter a filename with the .gdtf extension in the save dialog. The export uses the first selected object; for a fixture, it exports the linked fixture type.
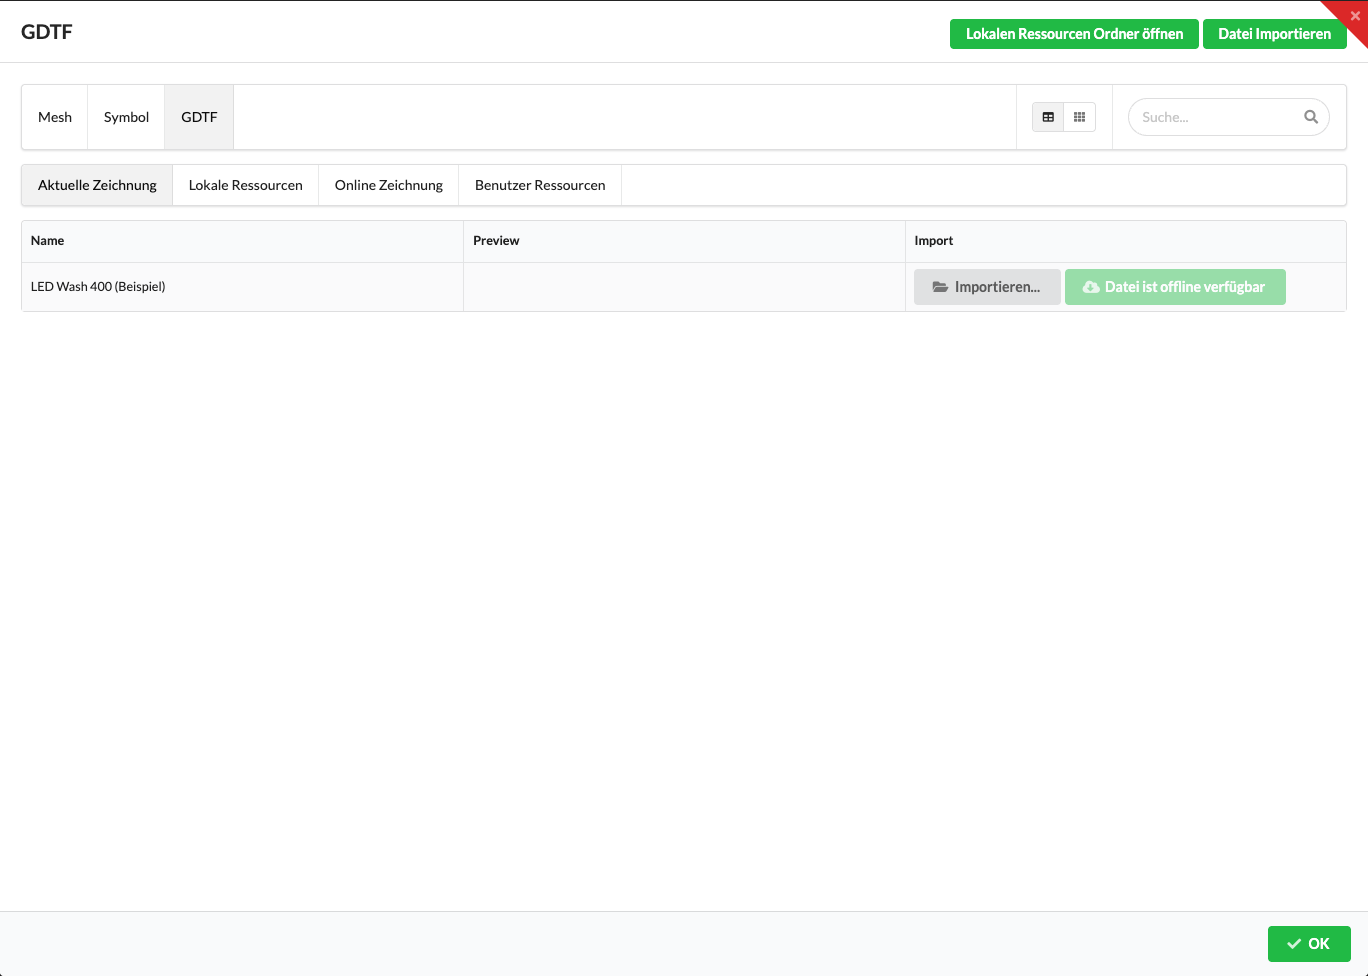
Imported fixture types appear in the Current Drawing tab. The example view shows a fixture type in this source.
MVR stands for “My Virtual Rig.” This open file format is used to exchange 3D models and planning data between CAD programs, visualizers, and lighting consoles. Production Assist can import MVR files and export drawings as MVR files.
To import an MVR file into the current drawing, select File → Import → Import MVR... and open the file on your computer.
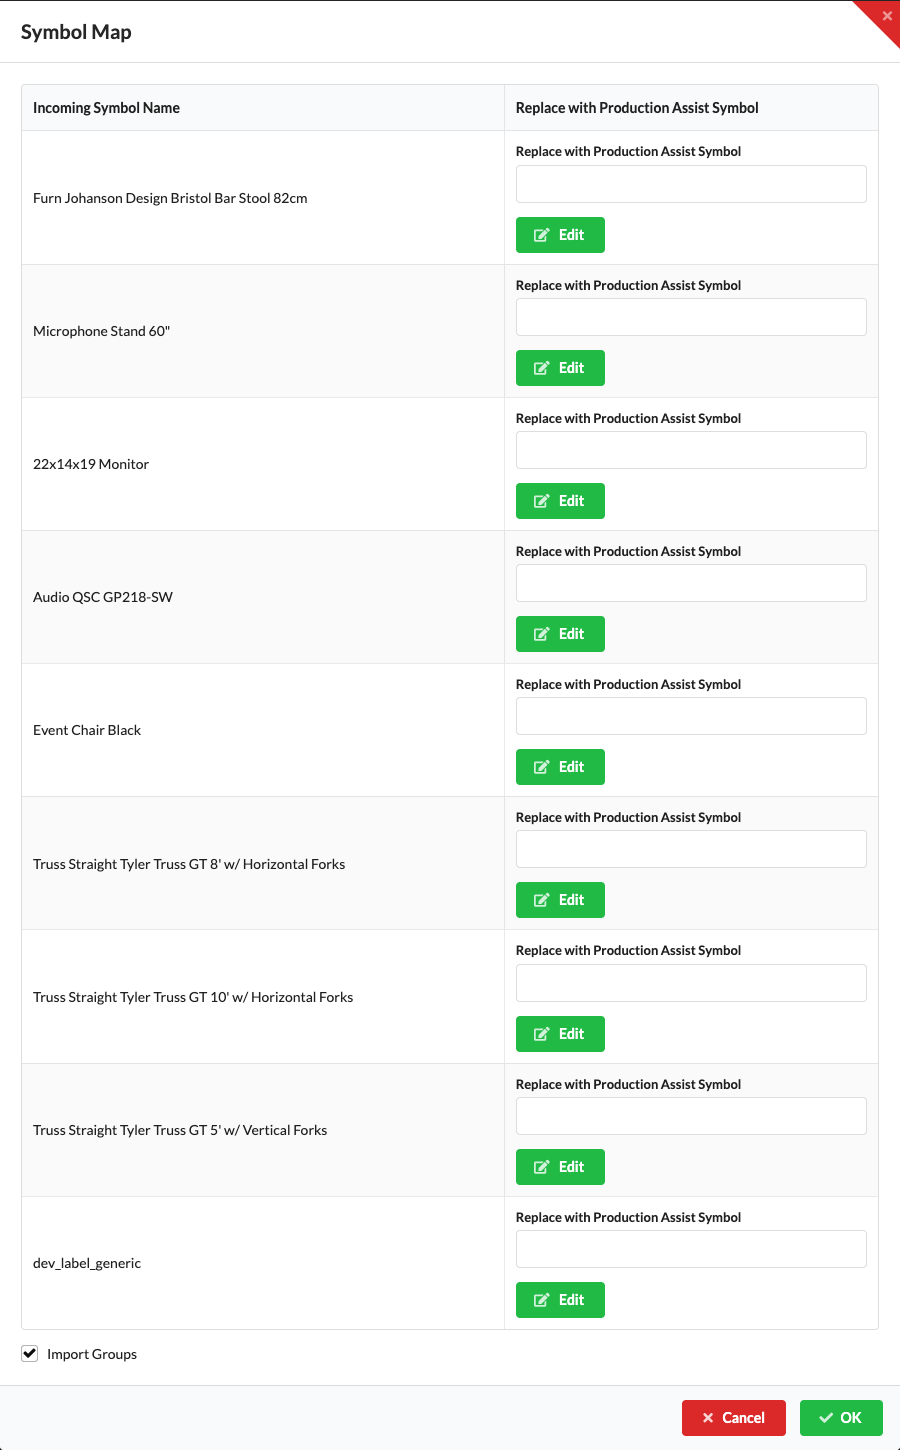
The Symbol Map dialog shows the incoming symbol names. Here you can map MVR symbols to Production Assist symbols if you need their additional information, such as data for structural calculations or electrical planning. Import Groups is enabled by default and imports MVR groups as assembly groups. If you disable this option, the objects are imported without their assembly groups. Click OK to save the selected mappings and start the import. Cancel closes the dialog without importing the MVR file.
To map a symbol, click Edit next to an incoming symbol and select a Production Assist symbol from Online Drawing or User Resources. Local resources and the current drawing are not offered in this selection.
The UI renderer screenshot uses the nine incoming symbols from the replaced MVR drawing: Furn Johanson Design Bristol Bar Stool 82cm, Microphone Stand 60", 22x14x19 Monitor, Audio QSC GP218-SW, Event Chair Black, three Tyler truss symbols, and dev_label_generic. You can open Edit for each row. Replacement symbols come from Online Drawing or User Resources; an internet connection is required for online symbols that are not yet available locally.
Symbol mappings are saved in the current drawing. If a user or online project is connected, Production Assist also attempts to synchronize the Symbol Map with the server. In the Resource Manager, you can view and change mappings under Symbol Map for later imports. Symbol Map templates are available for other drawings; a mapping in one drawing does not automatically apply to every other drawing.
To share the current drawing as an MVR file, select File → Export → Export MVR.... In the save dialog, choose a location and enter a filename with the .mvr extension. You can then open the exported file in an application that supports MVR.
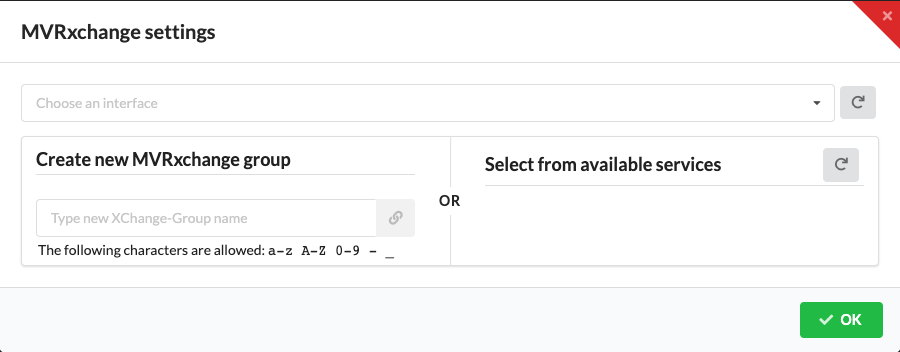
With MVRxchange, participants exchange MVR revisions through a local network service. Use this feature when other MVRxchange-enabled applications on the same reachable network are working with the drawing. To transfer a file without a network, use MVR import or export.
<All> allows all interfaces. Click the refresh button to reload the interfaces.Use File → Import → Import changes from MVRxchange... to open the same dialog and select someone else's revision. Disconnect ends the current drawing's connection to the group. If no group or file appears, check the selected interface and refresh the relevant list; another participant's file appears only after they publish it.
The example view below shows the dialog before connecting, with empty lists. The file lists appear only after connecting.